

How to Prepare Your Site for Outdoor Sauna Installation
A well-prepared site is what keeps the structure stable, dry, and enjoyable for years to come. It is your responsibility to prepare the site ahead of the sauna delivery - and it's not as complicated as you might think.
Here's what you need to know.
Choosing the Right Location
There are four things to consider when picking the spot for your sauna:
Level ground
The ground must be naturally level or easily leveled. A slight slope can be compensated with foundation adjustments, but major earthworks add cost and complexity. Check for frost depth in your region - this affects foundation choices.
Drainage
Water should flow away from the sauna, not toward it. Avoid low points in your garden where water collects. If your site has clay soil, consider adding a gravel drainage layer beneath the foundation.
Accessibility
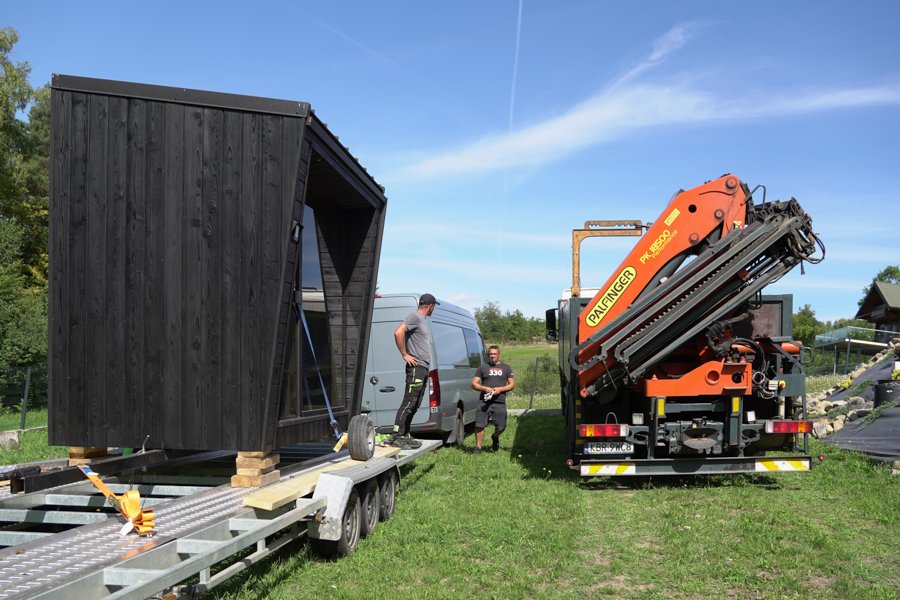
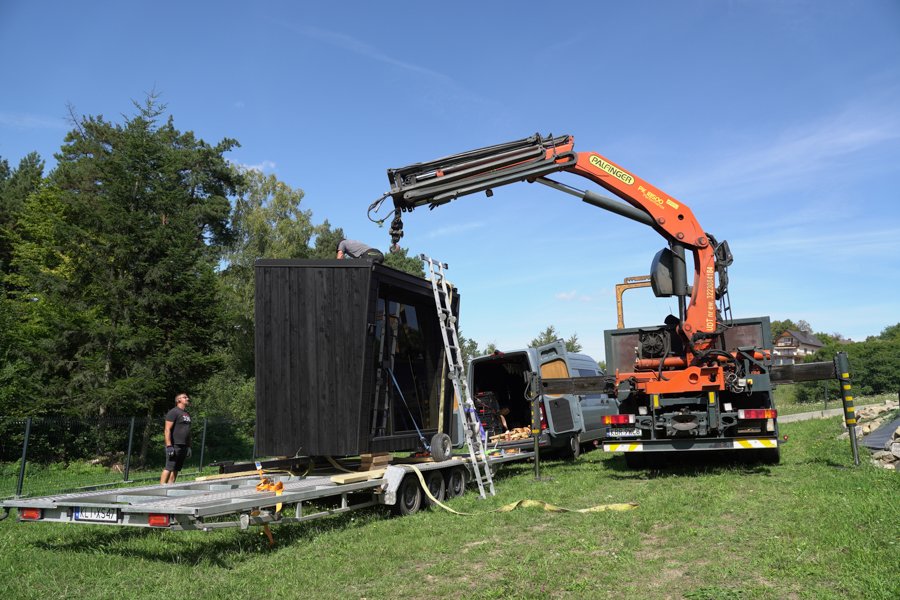
Think about how the sauna will be delivered. Most are transported on a flatbed truck and need a clear path at least 3m wide to the installation point. Also consider your daily route from the house - you'll be walking this path in a towel.
Surroundings
Keep at least 1m clearance from fences and boundaries. If you're planning a wood-burning heater, you'll need 4m clearance above the chimney from any trees. Consider the view from inside - a full-height window looking at a garden wall is less inspiring than one facing trees or open sky.
Foundation Options
You have three main choices, each with different trade-offs:
Reinforced concrete pillars
Our recommended option. Concrete pillars placed at the corners and midpoints of the sauna frame distribute weight evenly and allow air circulation underneath. This prevents moisture buildup and extends the life of the metal frame.
Concrete pavers or patio stones
A more flexible option that works well for smaller saunas. Lay the pavers on a compacted gravel bed, ensuring they extend at least 10cm beyond the sauna footprint on all sides. This is the easiest DIY option.
Ground screws
Best for sloped terrain or where you want minimal ground disturbance. Ground screws are driven directly into the soil and support the frame above ground level. This requires specialised equipment - contact a local installer.
We include a foundation plan
Every Yuki Sauna order includes a detailed foundation plan showing exact dimensions, pillar positions, and recommended materials. You don't need to figure this out alone.
Electrical Requirements
If you're going with an electric heater (which most people do), you'll need a qualified electrician to set up the electrical supply before the sauna arrives.
Three-phase power required
Most sauna heaters above 6kW require a three-phase electrical connection with a CEE PLUG 32A 5P 400V 6h IP67. This is not a standard household socket - it needs professional installation.
The cable route from your electrical panel to the sauna location should be planned in advance. We provide detailed electrical guidelines with your order, including the correct cable specifications for your heater model.
CEE 32A
Plug type
IP67
Rating
3-phase
Connection
>6 kW
Heater range
Planning Permission
In most European countries, planning permission is not required for garden buildings under 35m². All Yuki Sauna models fall well under this threshold.
However, local regulations can vary. Check your municipality's rules for:
- •Setback distances from property boundaries
- •Nature protection zones that may limit construction
- •Solid fuel restrictions (relevant for wood-burning heaters)
- •Water proximity regulations if you're near a river or lake
In Poland, buildings under 35m² require only a notification (zgłoszenie), not a full building permit. Most other EU countries have similar simplified procedures for small structures.
Wood-Fired Sauna Specifics
If you've opted for a wood-burning heater, there are a few additional preparation steps:
- •Chimney clearance: Maintain a 4-metre radius above the chimney, clear of any trees or overhanging branches
- •Wood storage: Plan a dry, accessible storage area for your firewood near the sauna
- •Ash disposal: You'll need a safe, non-combustible container for disposing of ash
- •Wood selection: Use dry hardwoods (birch, oak, ash) for the best heat output. Avoid resinous softwoods that create excessive creosote buildup
Regular chimney cleaning is essential - we recommend at least once per season of active use.
Featured Model
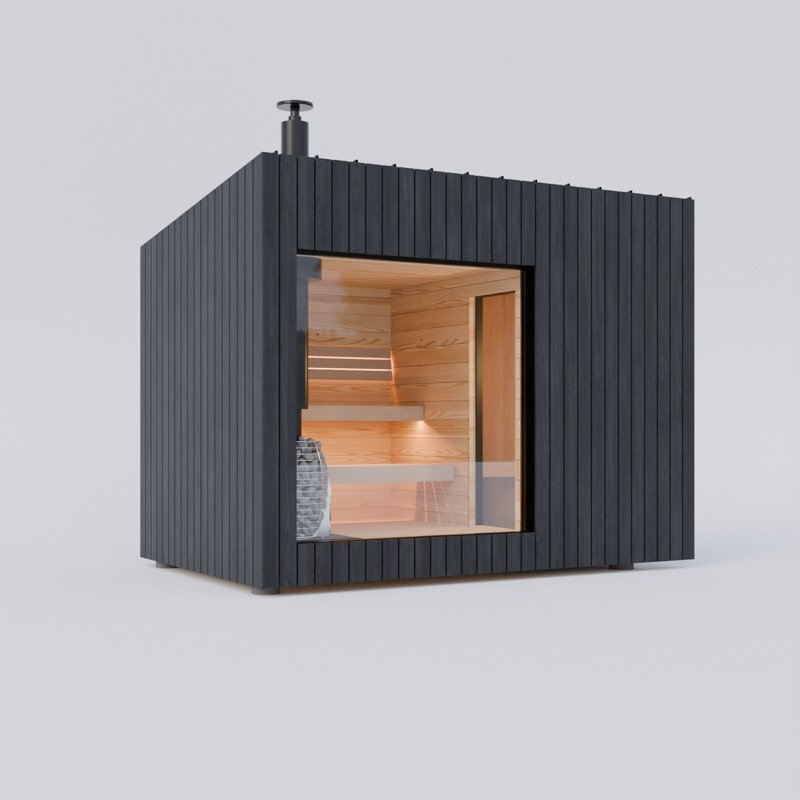
Sauna Hansei
Our most popular model - Self-reflection
Learn More →